A bathroom window can be bright and beautifully designed yet still feel exposed at night. A street-facing living room can have the same problem, especially when interior lights turn the glass into a display. When homeowners install residential privacy film, the goal is usually simple: keep the natural light while making the room feel private, finished, and comfortable.
The result, however, depends on more than choosing a frosted pattern. Privacy film must suit the glass, the room, the direction of the view, and the level of concealment you actually need. Installation also demands clean preparation and careful handling. A small amount of dust, a rushed cut, or the wrong film can remain visible long after the project is complete.
Start With the Privacy You Need
Privacy film is not one product with one result. Decorative frosted and etched-glass styles blur the view while still allowing generous daylight through. They work well on bathroom windows, sidelights, interior office glass, laundry rooms, and front-door glass where privacy matters but a soft, open appearance is preferred.
For rooms with a direct view from nearby homes or a busy sidewalk, consider how complete the coverage needs to be. An opaque white, blackout, or patterned film can provide more visual separation than a lightly frosted finish. The trade-off is reduced visibility out and, depending on the product, less light transmission.
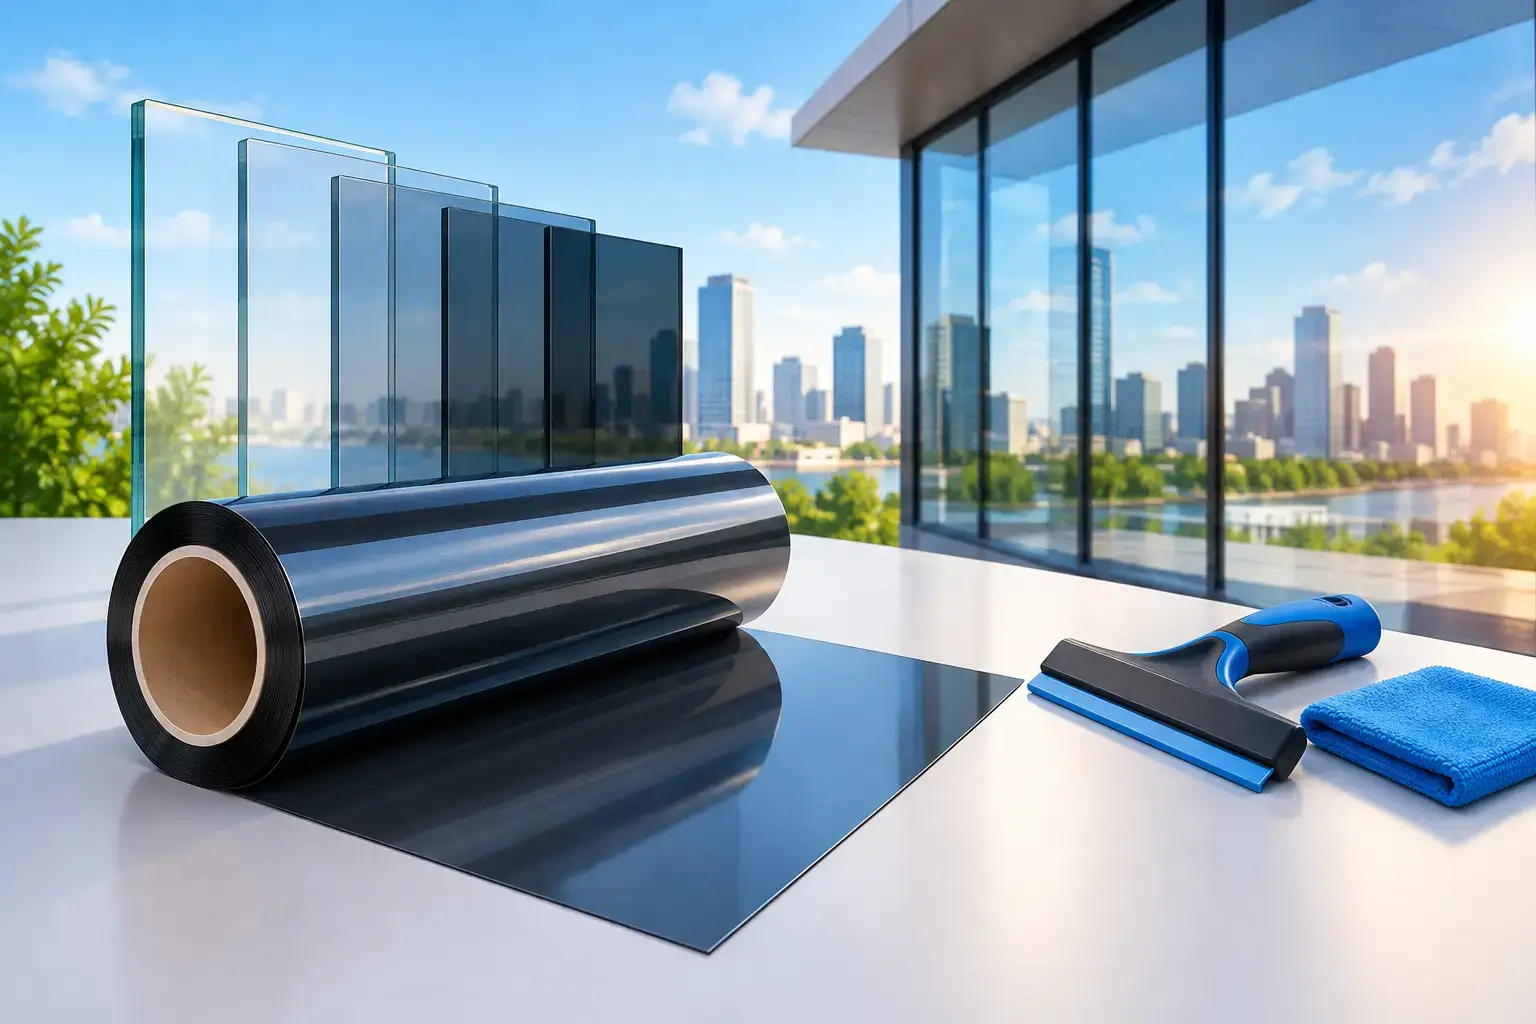
Daytime reflective films can reduce outside visibility when daylight is stronger outdoors than indoors. They are useful for certain street-facing windows, but they do not create the same effect at night. Once lights are on inside, a reflective film may offer limited privacy without curtains, shades, or another window treatment. This is one of the most common misunderstandings in privacy-film selection.
Choose Film for the Glass and the Room
Before selecting a finish, identify the window type and how it is used. Glass near a shower, an entryway, or a high-traffic area may call for a solution that balances privacy with safety, cleaning needs, and long-term appearance. A decorative film on an interior glass partition has different demands than film installed on a large exterior-facing pane that receives afternoon sun.
Solar exposure also matters. Some privacy films offer additional glare reduction and UV rejection, while others are designed primarily for appearance. If the room has fading floors, furnishings, artwork, or excessive glare, a film that combines privacy and solar control may be a better investment than a decorative-only option.
It is also wise to verify glass compatibility before applying any film. Certain insulated glass units, specialty coatings, and older windows require product-specific guidance. The wrong film can create added heat stress or affect a manufacturer warranty. A professional consultation is especially valuable for large panes, dual-pane glass, skylights, unusual shapes, and windows that receive strong California sun.
Measure the Visible Glass, Not Just the Frame
Measure the area where the film will sit, usually the visible glass inside the gasket or trim. Order or cut the film with a small amount of extra material on every side. That overlap gives you room to position the sheet accurately before trimming it to the final edge.
For several matching windows, measure each pane individually. Windows that look identical can vary slightly, and forcing a pre-cut piece onto a smaller pane often creates gaps or uneven borders.
How to Install Residential Privacy Film Cleanly
A clean installation is mostly preparation. Film is thin, and it makes contamination easy to see. Work in a calm, dust-controlled area, keep pets and open windows away from the work zone, and avoid installing in extreme heat or direct sun if possible. The glass should be cool enough to work comfortably and the solution should not dry before you can position the film.
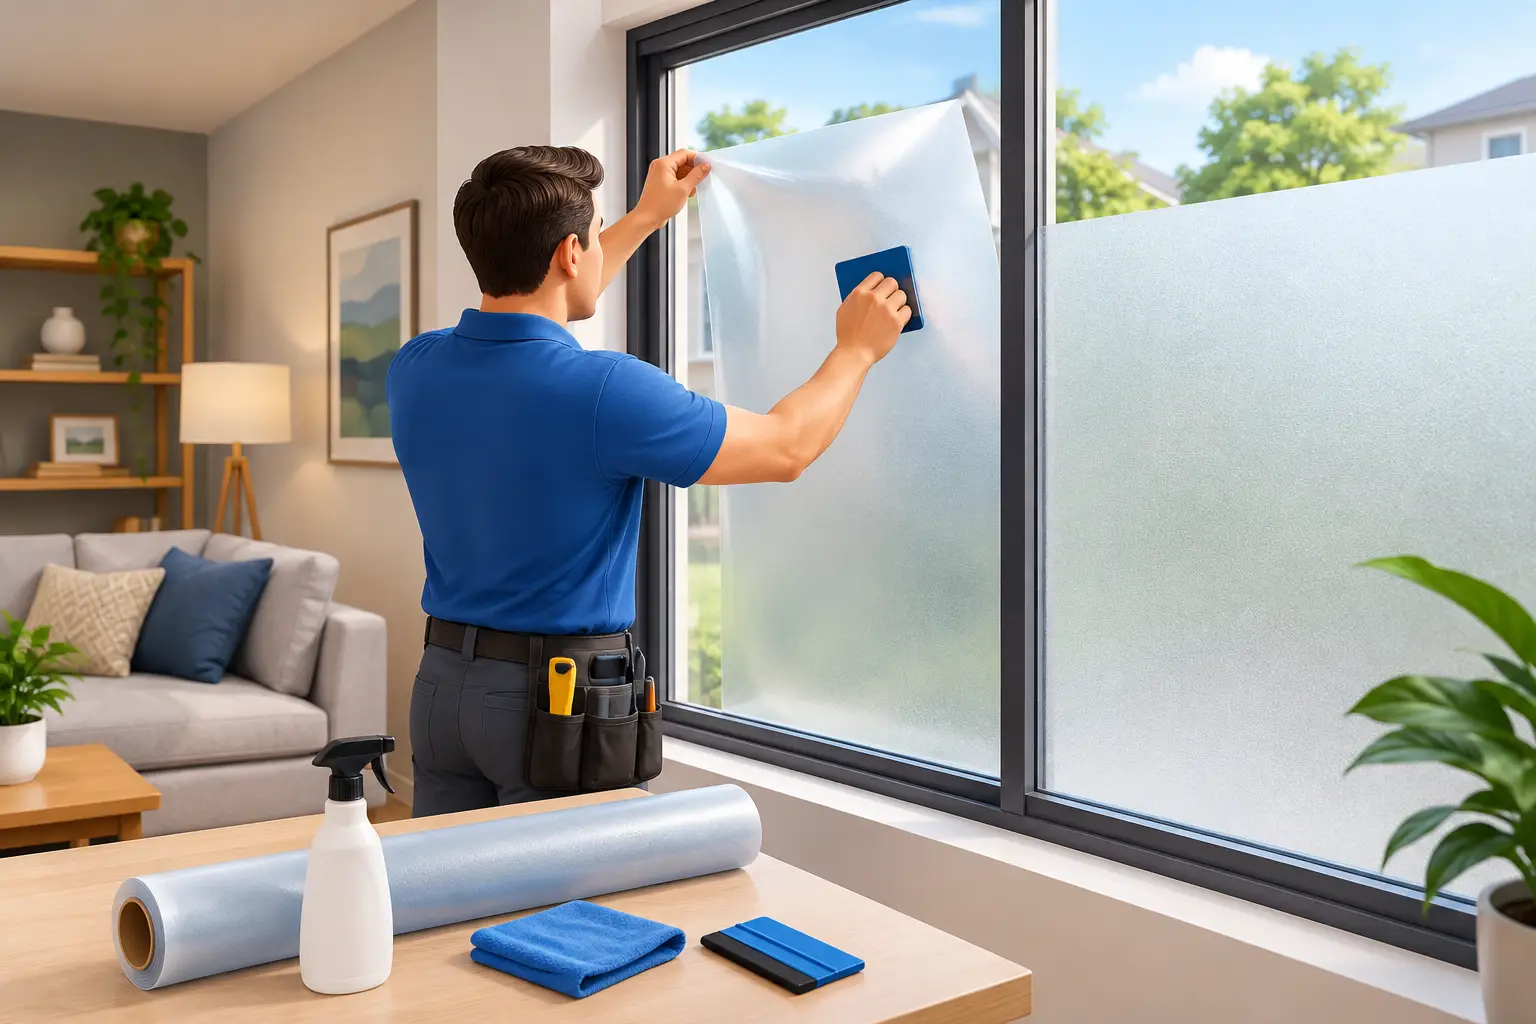
Gather a spray bottle, a manufacturer-approved slip solution, a quality squeegee, lint-free towels, a sharp snap-off blade, and a straightedge or trim guide. Replace blades frequently. A dull blade can drag, tear the film, or leave a rough edge that collects dirt.
Clean the Glass Meticulously
Spray the glass and remove residue, adhesive, paint specks, and grime with a suitable scraper where appropriate. Then clean the surrounding frame and sill. Debris hiding in the gasket or lower track can be pulled back onto the glass during installation.
Wipe the area with lint-free towels and inspect it from several angles. A window may look clean head-on while still showing streaks, fibers, or dried mineral deposits in side light. Do not use a household cleaner that leaves waxy residue unless the film manufacturer specifically approves it.
Wet the Surface and Position the Film
Most professional-grade films are installed with a wet method. Spray the glass generously with slip solution, remove the liner from the film, and wet the adhesive side as it is exposed. The solution temporarily allows the film to slide into position instead of bonding immediately.
Place the film on the wet glass with the extra material extending beyond the edges. Align the pattern, frost gradient, or design before squeegeeing. This step matters on decorative films because even a slight tilt can be noticeable next to a door frame, tile line, or mullion.
Squeegee Water Out Methodically
Spray the outside of the film so the squeegee glides without scratching the surface. Start near the center and use firm, overlapping strokes toward the edges. The purpose is to push trapped water and air out from beneath the film, not merely flatten it.
Work deliberately, re-wetting the surface as needed. A few tiny moisture pockets can be normal immediately after installation, especially with thicker films, but large bubbles or visible debris need attention before the adhesive begins to set. If a speck is trapped under the film, lifting and reapplying that section may be necessary while the surface is still wet.
Trim the Edges and Finish the Seal
Use a trim guide to make clean cuts just inside the window edge. Leave a narrow, consistent gap around the perimeter rather than pressing film tightly into the gasket. This small clearance helps prevent edge lifting and gives remaining installation moisture a path to escape.
Complete a final pass with the squeegee, paying close attention to the edges. Wipe the frame and sill, then inspect the window from inside and outside. On patterned or frosted film, look for alignment as well as bubbles.
Let the Film Cure Before Judging the Finish
Privacy film does not always look fully settled on day one. Depending on the product, weather, and glass temperature, drying can take days or longer. A slightly hazy appearance or small water pockets may clear as the remaining moisture evaporates.
Avoid aggressive cleaning during the curing period. Once the film has set, clean it with a soft cloth and a film-safe cleaner. Avoid abrasive pads, harsh chemicals, and sharp tools. With proper care, premium film should continue to look clean and consistent for years.
When Professional Installation Is the Better Value
DIY installation can work for a small, simple bathroom pane using a forgiving frosted film. It becomes less forgiving when the window is large, high, shaped, textured, divided by grids, or positioned where every flaw is visible. Exterior-facing glass also raises more questions about heat, performance, and compatibility.
Professional installation brings precise cutting, controlled preparation, and the ability to recommend a film based on the glass and the desired result. That matters when privacy must work with heat reduction, glare control, UV protection, or a polished architectural finish. It also avoids the familiar frustration of buying material twice after a first attempt develops creases, contamination, or lifting edges.
For homeowners who want privacy without sacrificing the character of their windows, the best next step is to evaluate the room at the times privacy matters most – during the day, after dark, and with interior lights on. That simple check makes it far easier to choose a film that looks right and performs the way you expect.